In this tutorial, I'll be taking you through the steps of getting your development environment ready to start building Flutter applications.
Flutter was created by Google and it's an opensource framework. Using a single codebase, you can build beautiful, natively compiled applications for web, mobile, and desktop.
One of the advantages of building with Flutter is its hot-reloading feature. In milliseconds, your application is updated and this makes development faster as you don't have to wait to preview your changes.
Others include:
- Single codebase to build on cross-platform
- Beautiful and Expressive UI/UX
- Native performance
- Smooth and easy animations
Let's get into setting up Flutter on your computer so you can start development.
Prerequisites
- Code Editor
- Extension
- Platform SDKs (Android Studio/Xcode)
- Flutter SDK
Code Editor
It is essential to decide on the best coding editor use. It's preferred to use Visual Studio Code or Android Studio or IntelliJ IDEA as they come with plugins that aids flutter development. I use VSCode.
Extensions
To install the Flutter and Dart plugins,
- On VSCode, go to Marketplace and search for Flutter by "Dart Code"

- On Android Studio, go to Configure > Plugins or Preferences > Plugins for older versions. Search for Flutter

These plugins/extensions add Intellisense to your coding.
Platform SDKs(Android Studio and XCode)
See link above to download Android Studio if you haven't done that already.
To build iOS, you need a Macbook. And you need to download Xcode also on your Mac. Download XCode
Flutter SDK
To develop and run flutter applications on your laptop, you need to download the Flutter SDK. Here are the download links for the various Operating systems:
- Windows: flutter_windows_1.22.3_stable
- MacOS: flutter_macos_1.22.3_stable
- Linux: flutter_linux_1.22.3_stable_stable
As of writing, these are the stable versions. See References links below for the latest stable versions
After downloading, extract and move them to a permanent folder in your disk. For me, I created a directory called development in the home directory and extracted it there. Hence, I have /Users/<username>/development/flutter
Add flutter to your PATH
For MacOS: While in the directory where you have flutter folder, enter this command in your terminal:
$ export PATH="$PATH:`pwd`/flutter/bin"
to add flutter to your PATH.
If you are using bash, I'll advise you to add it to your path like so.
Run nano ~/.bash_profile. This opens the terminal text editor.
At the last line, add this:
export PATH=$PATH:/Users/<username>/development/flutter/bin:$PATH
*Don't forget to replace with your computer username
For Windows:
Go to the environment variables of your computer. Under User variables, add the full path of your flutter/bin folder to the Paths. Ensure to add semicolon(;) before pasting the full url.
Flutter Doctor
Run:
$ flutter doctor
in your terminal/command prompt. This command checks every aspect of your development environment and reports to you which parts are correctly set up and which ones are not.
Mostly, it will suggest to you what to do or links to follow to finish up the setup. However, common steps include:
Install an Android Emulator
In your Android Studio, go to Tools, click AVD Manager. A window pops up. Click Create Virtual Device:

Another window opens where you select the device you would like to install.
iOS Simulator comes with Xcode. Since you've installed your xcode, you should have the simulators. To open the simulator, run the code:
$ open -a Simulator
You also need to install cocoapods. Run the code: sudo gem install cocoapods.
At the end of the day, you should have your environments setup to run flutter.
Create and Run Your First Flutter Application
cd into the directory of your choice where your codes will reside. Then run the command:
$ flutter create myfirstapp
where myfirstapp is the name of your app.
$ cd myfirstapp
$ flutter run
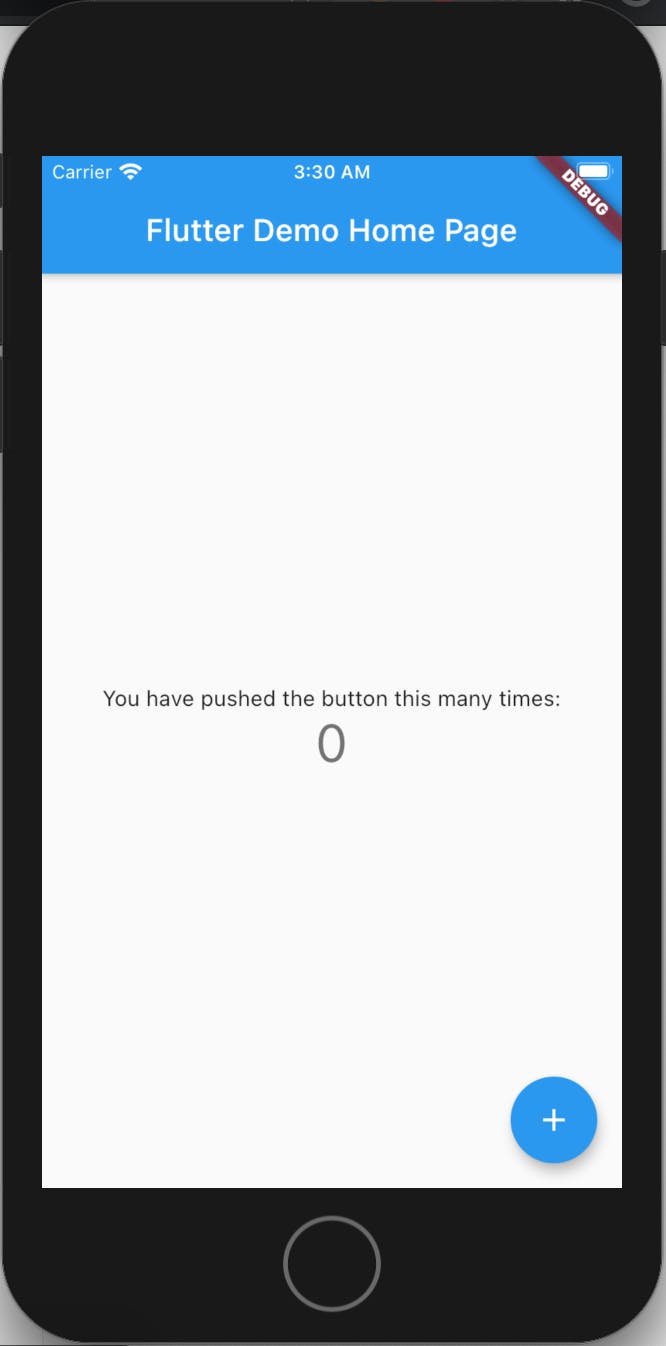
These codes will change to your app directory and launch your first flutter application in your emulators. [Ensure to have your emulators opened.]

