Introduction
It is a good software engineering practice to separate portions of your code function to work independently of other parts. Since your codes are made up of functions basically, serverless functions allow you to deploy those functions without the complexity of managing a server to run them.
In this tutorial, we will be learning what serverless functions are, how to write them, and how to deploy them on Netlify in minutes. We will also touch up on other uses of serverless functions.
What are Serverless Functions?
A serverless function is a function hosted on a cloud infrastructure and performs a single purpose. It is very similar to every other function you write as long as it has its own dependencies and can run on its own. It is serverless because it takes off the stress of server maintenance and scaling the function from you.
Netlify has made it very easy to write any backend task and deploy it independently or alongside your project in simple steps. Your functions can also be deployed by a simple git push command if linked with your GitHub repository. These functions are called Netlify Functions.
Serverless functions work just like your API endpoint
Let's Build our Serverless Function
Create a project folder
Create an empty folder either manually or by running mkdir custom-netlify-functions. Use any name you feel like. Here I'm using 'custom-netlify-functions'.
Setup CI/CD with GitHub
Initialize repo with GitHub
Change to the folder
cd custom-netlify-functionsCreate a readme.md file
touch readme.mdRun
git initto initialize folder with Git repository- Run
git add . && git commit -m "initial commit"to add the file and commit changes. - Go to github.com/new, create a new repo - preferably with same name
- Link the local repository with your remote repo like so:
git remote add origin git@github.com:YourGithubName/your-repo-slug.git - Run
git push -u origin masterto push your files
Install Netlify CLI
We will be using the Netlify CLI as it makes it super easy to get our project up and running
Run npm install -g netlify-cli
Initialize Netlify in folder
If you don't have a netlify account, create one now
While inside the folder, run netlify init to initialize the folder with netlify.

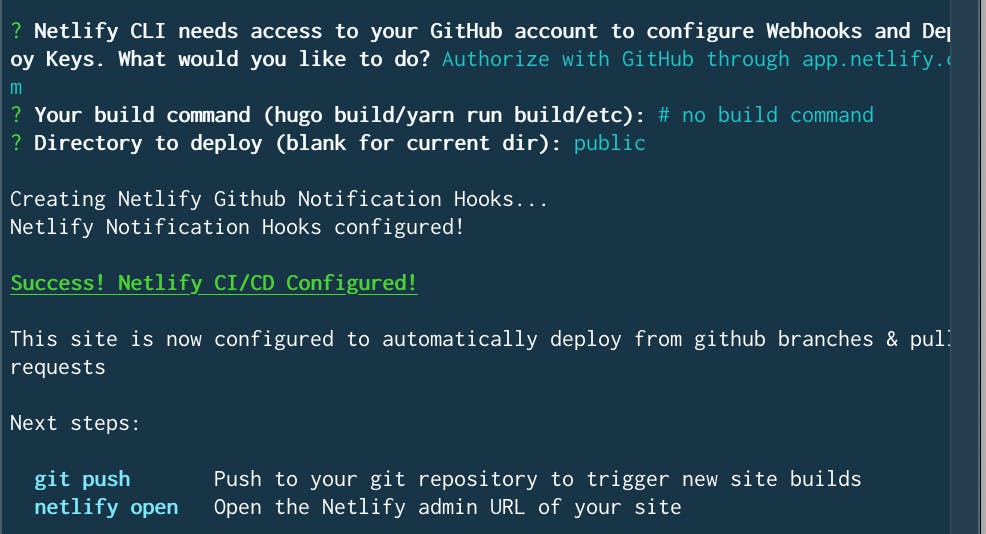
The prompt will ask you "What would you like to do?", select "Create and configure a new site". This option creates a new site on your netlify account.
If you are already authenticated, it will ask you to select your team (Netlify Account). If you aren't authenticated on netlify.com yet, it will open a browser and request that you enter your login credentials.
The next prompt will ask your Site name and if you'll like to authenticate with Github. For site name, retain the same name as 'custom-netlify-functions' and authenticate with Github
This step connects your Netlify account and repo with the same one you just created on GitHub.
Next prompts. For "Your build command", simply press Enter key. For Directory to deploy to, press Enter key too to use "." (the current directory).
Let's Code
Create a netlify.toml file for our configuration and write the following code in it:
[build]
    functions = "functions"
This code tells Netlify that it can find our functions in the "functions" folder
Create a functions folder where we will write our functions
Inside the functions folder, create a file called hello.js
You access your serverless function by using a provided URL with your filename at the end. So, every function ends with <name-of-file> (without the .js)
Your serverless function that will be called must be named handler and it takes 3 parameters in this format:
// hello.js
exports.handler = function (event, context, callback) {

}
- The
eventparameter contains all headers, query parameters and post data - The
contextparameter provides information about the context in which the serverless function was called, like certain user information. - The
callback(optional) parameter is called to return a response when this serverless function is called.
The callback function can return either an error(first parameter) or a response object like so:
callback(null, {
    "isBase64Encoded": true|false,
    "statusCode": httpStatusCode,
    "headers": { "headerName": "headerValue", ... },
    "body": "..."
})
Back to our hello.js function, update it like so. Let's just return an object with "Hello World".
// hello.js
exports.handler = function (event, context, handler) {
    callback(null, {
        statusCode: 200,
        body: "Hello World"
    })
}
Let's run our function locally
Run netlify dev or ntl dev from your terminal.
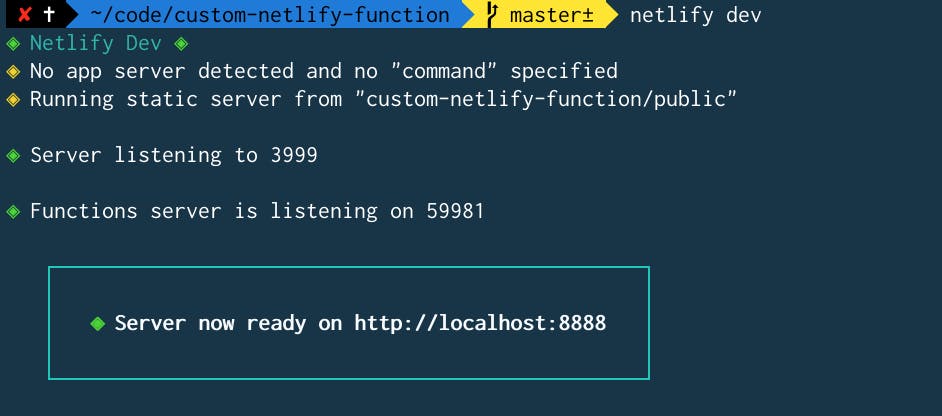
To access your serverless function in the browser, use the URL:
<host_url>/.netlify/functions/<function_file_name>
Going by our hello.js app, visit:
http://localhost:888/.netlify/functions/hello
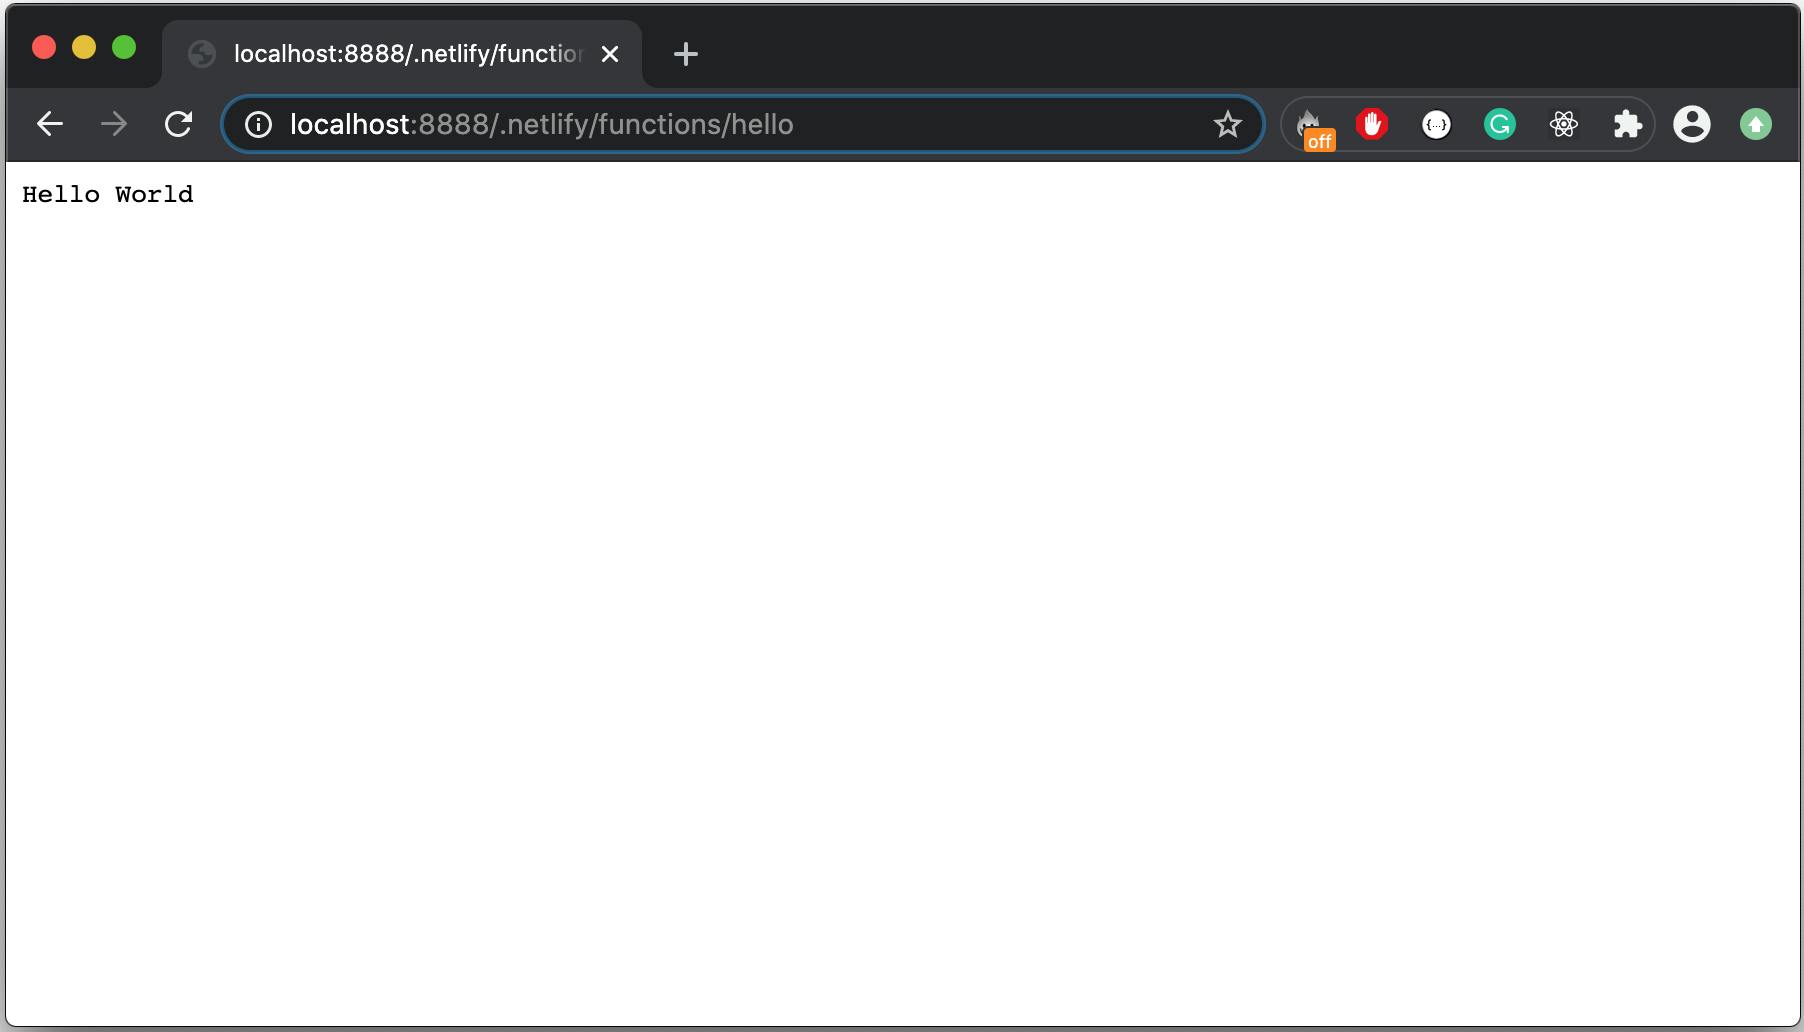 ...and that's it. Our Netlify Function.
Let's deploy our Serverless Function to production
Netlify makes it super easy to deploy to production with just one command.
Remember we had linked our local repo to our GitHub and also did CI/CD from GitHub to our Netlify account. Simply run the commands:
git add . && git commit -m "created the first serverless function "git pushThis commits and pushes our code to GitHub which automatically gets picked up by Netlify and deploys it.
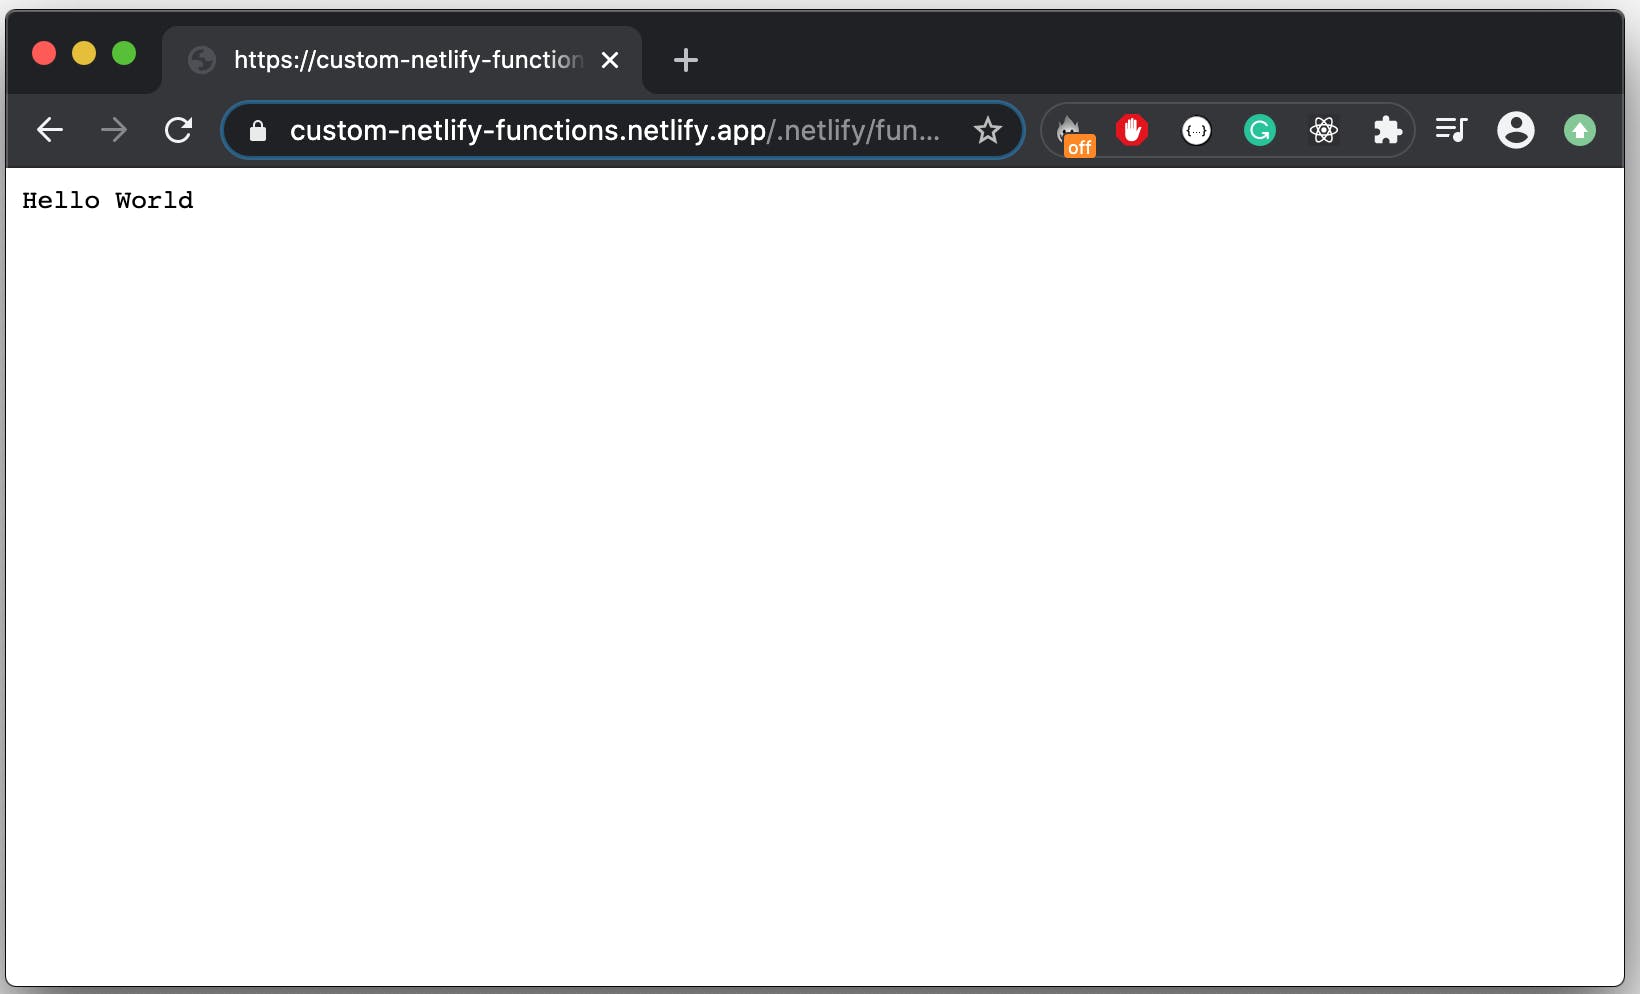
Alternatively, if you would like to push directly to Netlify. Or you didn't set up CI/CD, use the commands below:
- Run
netlify deployto deploy to draft - Run
netlify deploy --prodto deploy to production
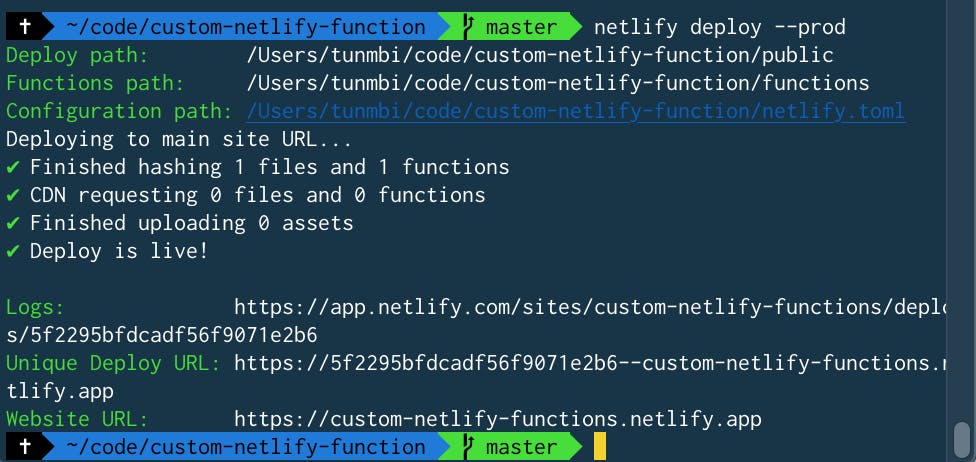
That's it. Serverless Functions (Netlify Functions) can do everything and anything your backend API can.
Examples of what a Serverless Function can do:
- Perform authentication
- Send an email using any mail server API
- Process payment
- Upload files
- Connect to external APIs to perform other functions
- Connect to database to perform CRUD operations ... and so many more
Resources
Contact me
If you find this write up helpful, do drop a comment. Should you have any difficulty or issues or better ways of writing this or more insights, do reach out to me on Twitter, Github or Connect on LinkedIn
